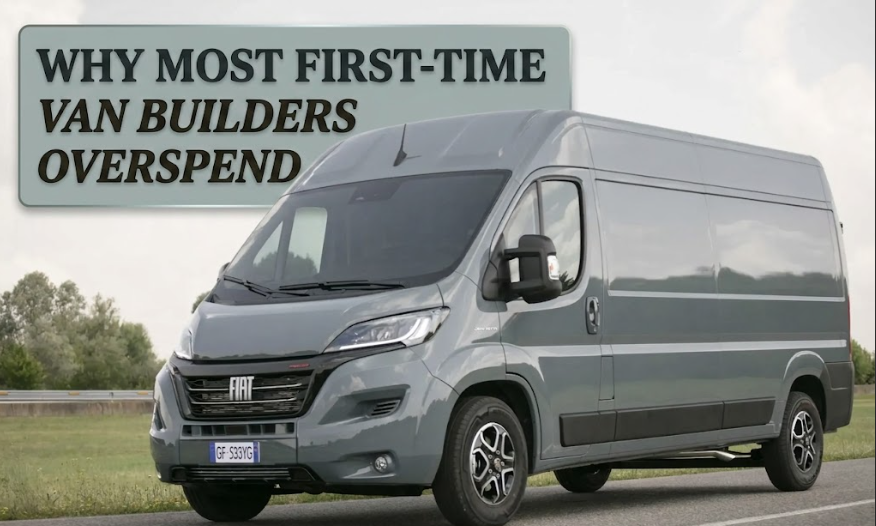
There’s a number I keep seeing come up in van conversion communities. £15,000. Sometimes £20,000. Occasionally more. And when you ask the person behind the build what they originally planned to spend, the answer is almost always something like “five to eight thousand, ideally less.” The gap between those two numbers isn’t just bad luck, it’s predictable. Almost boringly so. And it almost always comes from the same handful of wrong assumptions made at the very beginning of the process.
I’ve spent a lot of time here at Budget Van Journeys talking to people who are early in their build journey, and the same mistakes surface over and over. Not because people are careless with money. But because the information that’s most visible online, the polished YouTube build tours, the Reddit threads, the Instagram reels, tends not to be the kind that actually helps you spend less.
So let’s go through the real reasons the budget blows out. Because most of them are avoidable.
1. Planning the Build Around the Wrong Model
Here’s the belief most first-timers carry into the process: a van build only “counts” if it’s fully fitted, aesthetically cohesive, and functional from day one. You’ve seen the tours. Every wall panelled, a proper kitchen with a hob, a roof lifted for standing room, 200Ah of lithium and a full solar array. It looks brilliant. And it quietly convinces people that anything less is failure.
But this is where the overspending starts.
Building out a van is a great example of a decision that benefits enormously from real experience, which you don’t have yet. Your first few weeks sleeping in the van will teach you more about what you actually need than any forum ever will. Some people discover they almost never use the cooktop because they prefer cooking outside. Others find they need twice the storage they planned for. The person who over-insulated for winter living ends up based in southern France from March to October and rarely sees the temperature drop meaningfully inside the van.
Building for an imagined version of van life rather than your actual habits is, arguably, the single biggest reason first-time budgets collapse. Build for what you know you need now. Build the rest later.
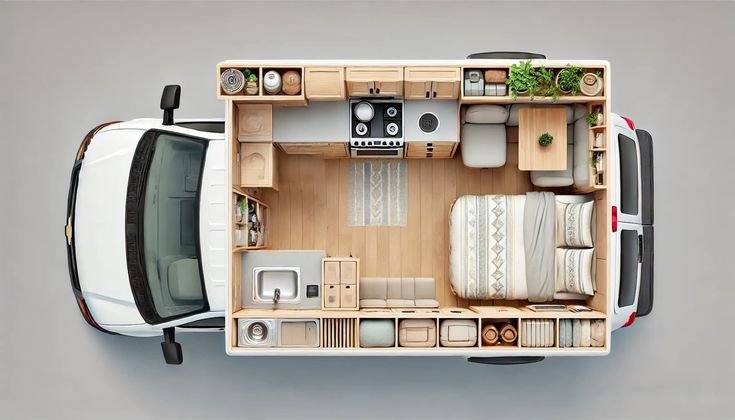
2. Where the Money Goes (and Where It Doesn’t Have To)
Here’s a rough comparison of where first-time builders typically spend versus what a more measured, phased approach actually requires:
| Build Category | Typical First-Timer Spend | Realistic Starting Point |
|---|---|---|
| Electrical system | £2,000–£2,800 (200Ah lithium, full solar, inverter) | £700–£1,200 (100Ah AGM, 100–120W panel) |
| Insulation | £400–£600 (spray foam + rigid foam combo) | £150–£250 (recycled wool + careful fitting) |
| Flooring | £200–£400 (full vinyl plank fit-out) | £80–£150 (remnant vinyl, adhesive tape joints) |
| Bed platform | £300–£500 (custom frame, full slats) | £80–£200 (ply sheet, basic foldable slats) |
| Kitchen unit | £500–£800 (bespoke cabinetry, new timber) | £150–£300 (second-hand IKEA units or salvaged cabinetry) |
| Ventilation fan | £250–£350 (Maxxair or Dometic mid-range) | £80–£120 (entry-level fan, sufficient for most seasons) |
The gap across those six categories alone sits between £2,000 and £4,000. And none of the “realistic starting point” options are low quality. They’re just correctly sized for someone who doesn’t yet know exactly how they’ll live.
Start smaller. Upgrade from experience, not from expectation.
3. The Electrical System is Where Budgets Suffer Most
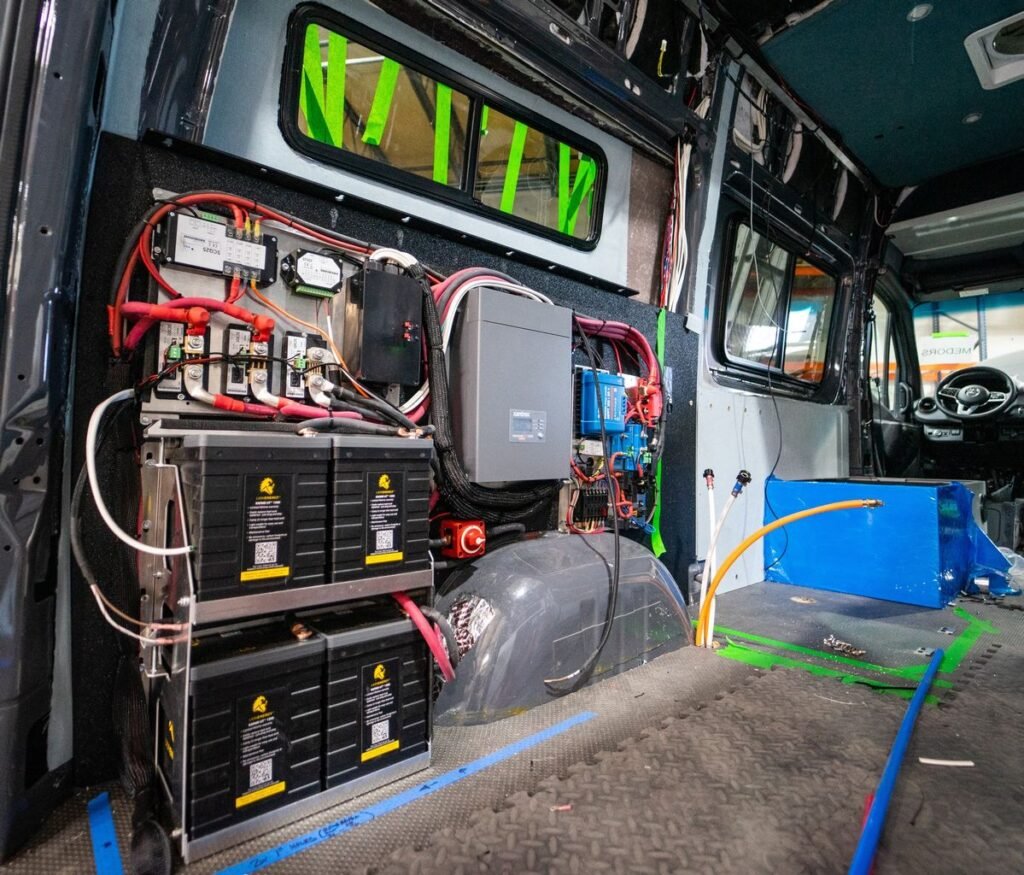
Lithium batteries are better than AGM. That’s not up for debate. They charge faster, discharge more deeply, last longer, and weigh less. But they cost two to three times as much for the same usable capacity, and for someone doing their first ever build, that price difference is rarely justified by actual need.
Think about it practically: if you start with a 100Ah AGM battery and a 100W solar panel, you’ll spend several months learning what your power usage actually looks like day to day. How often are you really running a laptop? Do you use the kettle every morning or just on cold days? Is the ventilation fan running all night or just for an hour before bed? Those answers vary enormously between people, and you genuinely cannot know yours before you’ve lived the life.
Buying a £1,400 lithium battery bank before you know any of that is, at best, convenient and at worst, money that could have covered several months of actual travel. The consistent advice I’ve seen from longer-term van lifers is the same: start with what you need now, upgrade when the gap between what you have and what you need actually shows up.
4. Second-Hand Materials Are Not Always the Answer
The received wisdom is to buy second-hand wherever you can. And generally, yes. But there’s a version of this approach that goes quietly wrong.
Some first-timers buy cheap materials repeatedly. A ratchet strap that breaks after three weeks. A non-marine-grade fuse holder that corrodes by the following autumn and takes out part of the circuit. Flooring adhesive that doesn’t bond well in cold conditions and starts lifting a month later. Each individual purchase was cheap, but replacing things costs money you already spent once, plus time, plus the frustration of redoing work you thought was finished.
The smarter approach is to draw a clear line. Decide which elements make sense to source second-hand, structural timber, cabinetry, fabric, smaller fixtures, and which ones you buy new and buy once, wiring, fuses and connectors, anything structural bearing weight, adhesives and bonding agents. If you’re not sure where the savings actually are, the guide to easy DIY upgrades for budget van builds is worth a read before you start sourcing anything. It’s a good breakdown of where DIY genuinely saves money and where it quietly creates more expense.
5. The Costs That Start After the Build
First-time builders tend to think of the conversion as a capital project with a defined end. Once the van is finished, the expensive part is over. This is, in my experience, where the most avoidable financial pain comes from.
Fuel is the obvious ongoing cost. Depending on your mileage and van size, that can be £150 to £400 a month without much difficulty. Campsite and overnight parking fees accumulate, especially in high season or in areas where free overnight parking is restricted. Van insurance that covers habitation, not just driving, costs more than standard vehicle insurance. And maintenance on a vehicle that’s now your home rather than a machine you use twice a week adds up faster than people expect.
Then there are the repairs. Not dramatic, catastrophic ones but the steady trickle of things that break in a mobile space where everything vibrates constantly. A cabinet hinge. A shower pump. The gas hose fitting that develops a slow leak eighteen months in.
None of this is a reason not to do it. But if your total conversion budget was £6,000 and you genuinely spent all of it on the build, you’re starting van life with no buffer for the actual months of travel. The saving habits for van travelers post goes into this in more detail, and it’s genuinely more useful to read before you fix your build budget than after. You might be surprised how much the ongoing cost picture changes what you decide to spend upfront. The van life hacks for saving on fuel and food is a good companion piece if you want to get ahead of the two biggest recurring costs.
A Note on Professional Conversions
The financial case for hiring someone to convert your van is less clear-cut than it seems. A professional fit-out for a standard high-roof Transit or Sprinter at a decent quality level runs from roughly £8,000 to £15,000 in the UK. A well-researched, patient DIY build on the same van costs £3,000 to £6,000 for most people.
That gap is real and it’s large.
But a professional build you haven’t learned to maintain is its own kind of problem. Something goes wrong at a car park in rural Portugal at 11pm and you have no idea what’s behind the trim panel. A fitting leaks and you don’t know which one to check first. Learning even the basics of your own van’s layout, before you’re on the road, saves a great deal of stress later. The 1-day van setup guide for beginners gives a clear sense of how a functional basic layout comes together, which is useful whether you’re building it yourself or trying to understand a build someone else did.
If you do go the professional conversion route, budget for proper handover time. Ask questions. Make sure you understand what’s behind every panel before you drive away.
What Actually Keeps the Budget Down
The pattern I see in first-time builders who manage to come in under budget shares a few things in common. They start with a shorter list of absolute requirements and a longer list of “would be nice eventually.” They test their setup on a few shorter trips before committing to the full fit-out. And they build in phases, genuinely accepting that the van will change as they learn how they actually use it.
They also keep a real contingency. Not five percent. Fifteen percent, minimum, sitting untouched until they actually need it. Something always comes up, usually in month two.
The goal at Budget Van Journeys has always been that you can do this well without spending a fortune. That’s genuinely possible. But it requires resisting the pull of the optimised, fully kitted-out build you see online and instead building something that fits the life you’re actually going to live. Not the one you’re imagining.
FAQs
What’s a realistic total budget for a first van conversion? For a basic but functional build covering insulation, a bed frame, simple kitchen setup, starter electrical system, and flooring, expect to spend between £3,000 and £5,000 doing most of it yourself. That assumes sourcing some materials second-hand and not over-speccing the battery bank early on. Add £1,000 to £2,000 if you want a roof fan, better ventilation, or more solar from the start.
AGM or lithium for a first build? AGM is the more sensible starting point for most people. A 100Ah AGM battery costs £100 to £180. A 100Ah lithium costs £350 to £600 or more. You’ll understand your actual power usage within three to six months of living in the van, and you can upgrade to lithium when you’ve genuinely hit the limits of what AGM offers. Buy what you need now. Don’t buy for hypothetical future usage.
Is it really worth paying for a professional conversion? For some people, absolutely. If you have no practical skills and no desire to develop them, and money isn’t the primary concern, a professional conversion removes months of learning curve. But if budget is the priority, DIY is meaningfully cheaper. Most people in the Budget Van Journeys community take a hybrid approach: professional help for the more complex electrical work, DIY for cabinetry, flooring, and fit-out.
What do first-timers most often forget to budget for? The list is fairly consistent: ongoing fuel costs (which are higher than people calculate when the van is also their home), campsite and overnight parking fees, habitation van insurance, gas canister refills, breakdown cover for a vehicle lived in year-round, and the small maintenance items that accumulate steadily. These aren’t afterthoughts. Treat them as part of your monthly budget from the outset.
How long does a first-time van build actually take? For someone working evenings and weekends, a basic functional build takes six to twelve weeks. A more detailed, higher-spec build can stretch to four or six months. Online build videos are edited for watchability. The time spent at the hardware shop, the work that gets redone, the waiting for adhesives to cure properly, none of that makes the final cut. Budget your time as honestly as you budget your money.