
The version of van solar advice still circulating across most build forums is written like you’re assembling something from an engineering manual. Ampere-hour calculations appear on page one. Discussions of Peukert’s law show up by paragraph three. Somewhere between the MPPT efficiency curves and the wire gauge tables, half of all readers quietly close the tab and decide van life probably isn’t for them after all.
The technical knowledge is real. The intimidation is manufactured.
Van solar in 2026 is not as complicated as it’s made to look, not particularly expensive at the entry level, and you don’t need any electrical background to build one that actually works. What it requires is a clear picture of what you need before you buy anything, and a handful of decisions made in the right order. That’s genuinely it.
The problem isn’t that the project is hard. The problem is that most people skip the one step that makes every other decision obvious.
1. Do the Power Audit Before You Buy Anything
Van solar doesn’t start with panels or batteries. It starts with a list.
Write down every device you plan to run. Laptop, phone, fridge, fan, lights, CPAP if that applies to you. For each one, find the wattage (on the label or in the specs), estimate honestly how many hours per day you’ll use it, then multiply. Wattage times hours gives you watt-hours. Add everything up and that total is your daily demand. It’s the number that drives every component decision from here.
| Device | Typical Wattage | Hours/Day | Daily Wh |
|---|---|---|---|
| Smartphone (charging) | 18W | 2h | 36Wh |
| Laptop | 65–90W | 4h | 260–360Wh |
| 12V compressor fridge | 45W avg | 24h | 40–60Wh actual* |
| LED lighting (van-wide) | 20W | 4h | 80Wh |
| USB fan | 12W | 8h | 96Wh |
| CPAP (no heated humidifier) | 30–40W | 7h | 210–280Wh |
| 12V electric blanket | 60W | 4h | 240Wh |
*Compressor fridges cycle on and off rather than running continuously, so actual daily draw lands around 40–60% of the rated wattage over 24 hours. Don’t use the full rated number in your calculation, or you’ll massively overestimate what you need.
Add a 20% buffer on top of whatever you calculate. Real usage is always messier than a spreadsheet, and you want margin.
A two-person van setup with laptops, a fridge, lighting, and phone charging typically lands around 700–900Wh of daily demand. Solo travellers with more modest loads often come in under 300Wh. The math isn’t complicated, it just requires honesty about what you’ll actually use. And if remote work is part of your plan, the laptop and any secondary monitor draw changes the picture meaningfully. The working remotely from a van breakdown is worth reading through before you commit to a system size, because people consistently underestimate what a work setup costs in watt-hours.
2. What the Market Looks Like in 2026
A lot of the solar advice floating around was written for a market that has shifted.
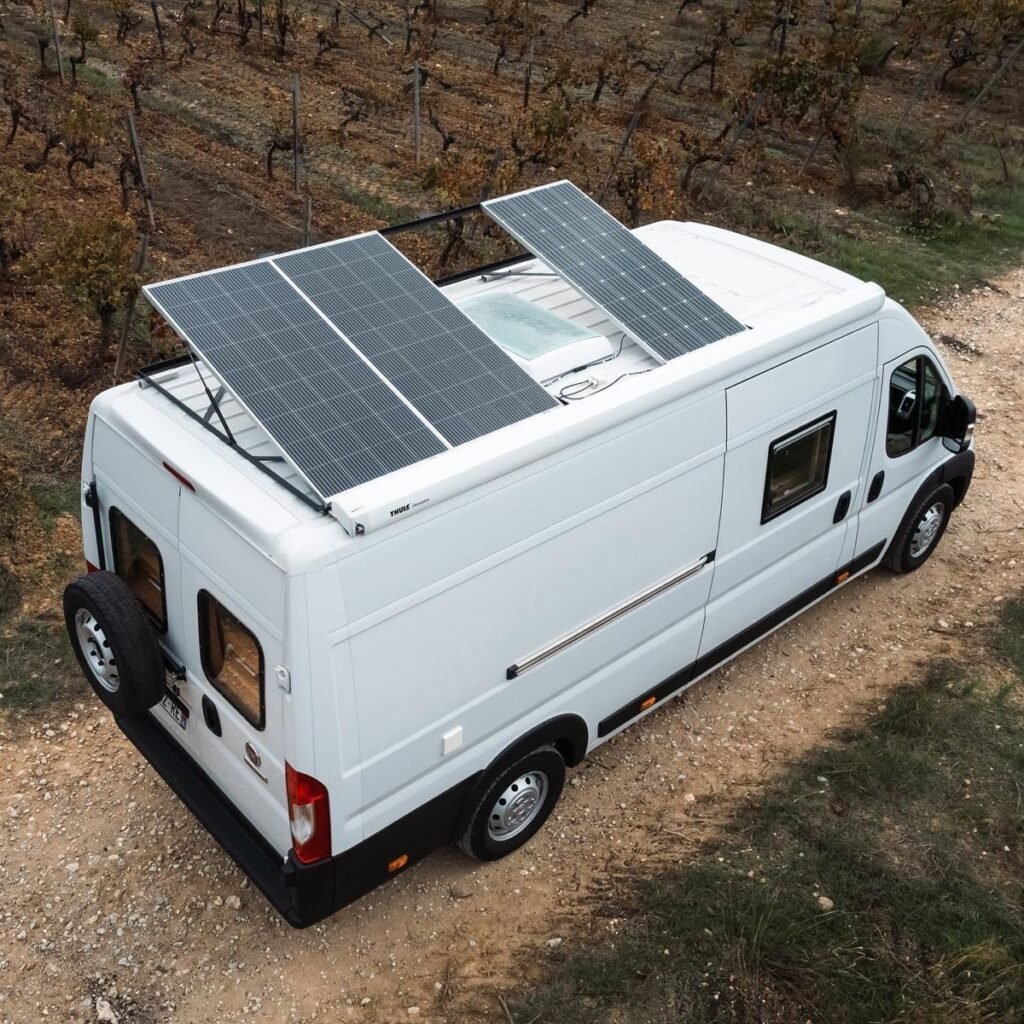
Panel prices per watt have dropped again. Two 200W monocrystalline panels now cost roughly what a single 100W panel cost in 2022. That changes the roof planning calculation in a real way: if you have usable roof space, the case for a larger system is stronger than it used to be on pure cost grounds.
LiFePO4 batteries are the more significant change. A 100Ah LiFePO4 gives you 80–95Ah of usable capacity. The same-rated AGM gives you around 50Ah before you start shortening its lifespan with repeated deep discharge. LiFePO4 batteries also charge faster, handle partial states of charge better (which matters on cloudy days when you’re not hitting full charge anyway), weigh significantly less, and last far longer in cycle terms. The upfront cost is still higher, but for anyone building a system they’ll use daily for two or more years, the long-term figures tend to favour lithium at what it currently costs.
MPPT charge controllers have come down enough that the old rule of thumb, PWM for budget builds, MPPT for serious ones, is blurring. A single 100W panel on a PWM controller is still completely fine. For anything over 200W, MPPT now makes sense on cost grounds even on tighter budgets, because the efficiency gain over a full season offsets the price difference.
Budget Van Journeys covers the entry-level end of all this in a fair amount of depth. The bigger picture, where decisions about battery chemistry and system sizing matter for years rather than months, is what this guide is meant to address.
3. Three System Tiers: What You Get and What It Costs
Once you have your daily watt-hour number, picking a system tier is mostly a matter of matching supply to demand.
| Entry Level | Mid-Range | Well-Equipped | |
|---|---|---|---|
| Best for | Solo travellers, low-draw or part-time use | Most full-timers, one remote worker | Couples, heavy users, extended off-grid |
| Solar panel capacity | 100W | 200–400W | 400–600W |
| Battery capacity | 100Ah AGM | 100–200Ah LiFePO4 | 200Ah+ LiFePO4 |
| Charge controller | 20–30A PWM | 20–40A MPPT | 40–60A MPPT |
| Approximate total cost | $220–$350 | $600–$1,100 | $1,200–$2,000+ |
| Realistic daily output | 200–350Wh | 500–900Wh | 1,000–1,600Wh |
The entry-level setup is a real, working system, not a placeholder. It has constraints, not flaws. No compressor fridge, limited laptop charging time, appropriate for weekend van use or solo travellers without high-draw devices. There’s a dedicated Budget Van Journeys guide to the DIY van solar setup for under $300 with component recommendations and honest cost breakdowns if that’s the tier you’re working in.
Mid-range is where most full-time van lifers land in practice. The decision to step up from entry-level usually comes down to two things: a fridge, or remote work. Either one pushes daily demand past what a single 100W panel can cover sustainably, especially across shorter winter days.
The well-equipped tier makes sense for couples, for people running two laptops alongside a fridge and other loads, or for anyone spending long stretches in climates where cloud cover limits daily output. It’s not overkill if your watt-hour audit puts you there. But it is overkill if it doesn’t, and this is precisely where why most first-time van builders overspend gets relevant. Buying 400W of solar capacity for a system that needs 200W doesn’t give you more usable power. It gives you the same usable power with more weight, more cost, and more roof complexity.
If you’re trying to figure out where the solar budget fits within a full build, the van build under $5,000 guide breaks down how people typically split spending across insulation, sleeping, electrical, and kitchen.
4. Installation: The Things That Actually Matter
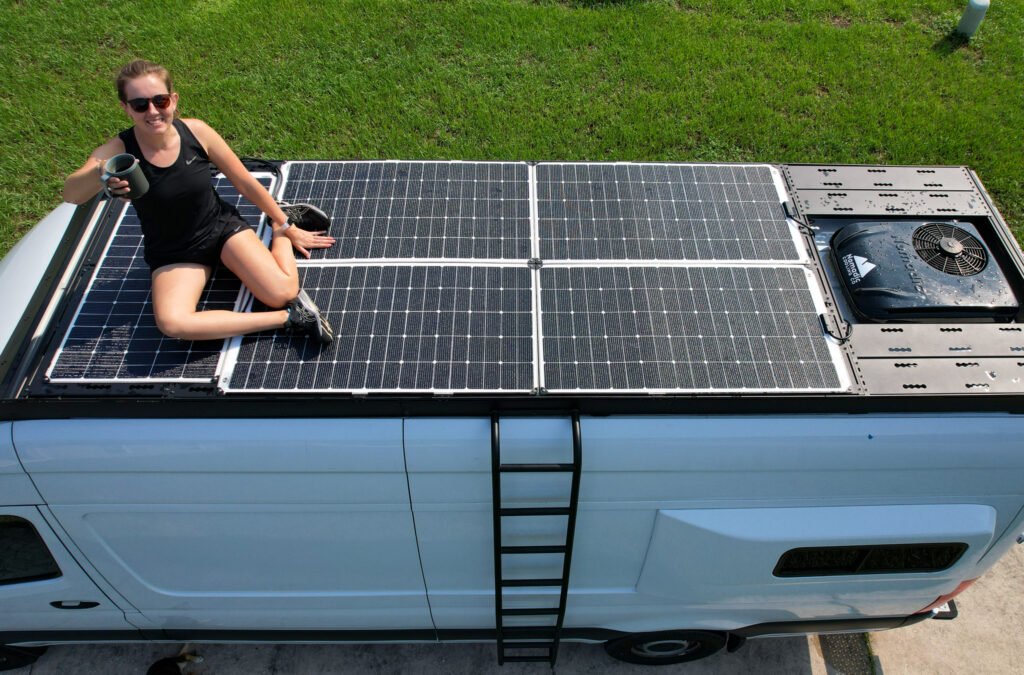
Van solar wiring is accessible at the DIY level. Low voltages, manageable currents, and a system that’s considerably more forgiving than household mains wiring. What causes problems isn’t usually the technical complexity, it’s a handful of specific errors that are easy to avoid once you know where they are.
The roof penetration. You’re drilling a hole in your van roof to pass cable from the panel into the interior. Done properly with a waterproof cable entry gland and self-levelling sealant around the base, it’s a 15-minute job. Done poorly, it’s a slow water ingress point that takes six to eighteen months to reveal itself as damp insulation, rusted floor beams, or mould under the plywood. It’s the most common silent damage in DIY van builds, and it’s entirely preventable. Don’t rush it.
Fuse placement. Every cable run from your battery positive terminal needs a fuse or circuit breaker positioned as close to the battery as physically possible, ideally within about 18 inches of the terminal. Not partway along the cable run. Not near the charge controller. Close to the battery. A short circuit anywhere between the battery and the fuse means that cable section carries full battery current with no protection, generating heat, and heat in a confined space with exposed cable is a fire risk. Most first-time builders get this wrong because they’re thinking about protecting the device at the end of the run. You’re protecting the cable itself. Those are different things.
Connection sequence. Battery first, then solar panel. Some charge controller models, especially PWM versions, can be damaged by connecting solar input before a battery is present. Connect battery terminals to the controller first, confirm the controller powers on normally, then connect the panel cable. It takes ten extra seconds and prevents the kind of controller failure that happens silently and shows up as mysteriously underperforming charging a month later.
Battery location. LiFePO4 batteries are sealed and can go essentially anywhere in a van. AGM batteries release trace hydrogen gas during charging and shouldn’t sit in a completely enclosed, unventilated space. Under a bed platform with a small vent gap to outside is fine. In a tightly sealed cabinet with no air movement, less ideal.
One installation mistake worth flagging that isn’t strictly electrical: panel placement relative to shade. A 100W panel sitting in clean, unobstructed sun for six hours outperforms a 160W panel with partial shadow falling across it through the afternoon from a bike rack or rooftop box. Before mounting anything permanently, stand on your roof, watch how shadows move across it at different times of day, and place the panel where it gets the longest unbroken sunlight. That decision plays out every single day of your van life and isn’t fixable without remounting everything.
Do the watt-hour audit first. It’s the question Budget Van Journeys comes back to with nearly every solar conversation because it’s the one input that makes everything else make sense. The tier you belong in, the battery size you need, whether LiFePO4 is worth it for you specifically, those decisions all follow from it. Go back to the table in section one, fill it in honestly, and the rest of this falls into place a lot faster than the forums would have you believe.
FAQs
Can I expand my van solar setup later if I need more power?
Yes, but the limiting factor is usually the charge controller, not the panels. A 20A PWM controller doesn’t have the capacity to manage a second panel in most configurations. If expansion is something you’re likely to want, choose a controller rated higher than your current panel from the start, so a 40A MPPT with a single 200W panel, and leave headroom in it. Adding a panel to an already-maxed controller means buying a new controller at exactly the wrong moment.
Is LiFePO4 worth the extra cost over AGM in 2026?
For part-time or occasional van use, probably not. AGM performs fine at that frequency. For full-timers using the system daily, the maths shift. LiFePO4 lasts roughly four to ten times longer in cycle terms depending on depth of discharge, charges faster, and gives you nearly double the usable capacity per rated amp-hour compared to AGM. At current prices, the long-term cost per usable watt-hour tends to favour lithium for anyone planning daily use over two or more years.
What happens to solar output in winter or consistently overcast climates?
Output drops significantly. A good 200W panel in overcast Pacific Northwest conditions in December might reliably produce 30–60 actual watts on a typical day. This is where battery capacity becomes more important than panel wattage: the battery is what bridges the gap between what you collect on a given day and what you need. If you’re planning for northern routes or winter living, sizing the battery larger is usually the more effective adjustment than adding more panels.
Do I need to disconnect the van solar system while driving?
No. Running alternator charging and solar input simultaneously is fine and is actually how most properly configured van systems operate. Both charge sources connect to the battery through their respective controllers, and the battery manages the combined input without issue. Some people add a battery-to-battery (B2B) charger to improve alternator charging efficiency, but it’s not required for a basic working system.
How long does a basic van solar installation actually take?
A first-time builder doing a single panel and one battery will typically take a full day, sometimes spilling into the next morning. Not because the steps themselves are slow but because checking your work, re-reading instructions, and being careful with waterproofing takes time. Experienced builders doing the same system run three to four hours. Don’t plan on having a live setup by noon on your first attempt. Plan on a full day and be pleasantly surprised if it goes faster.