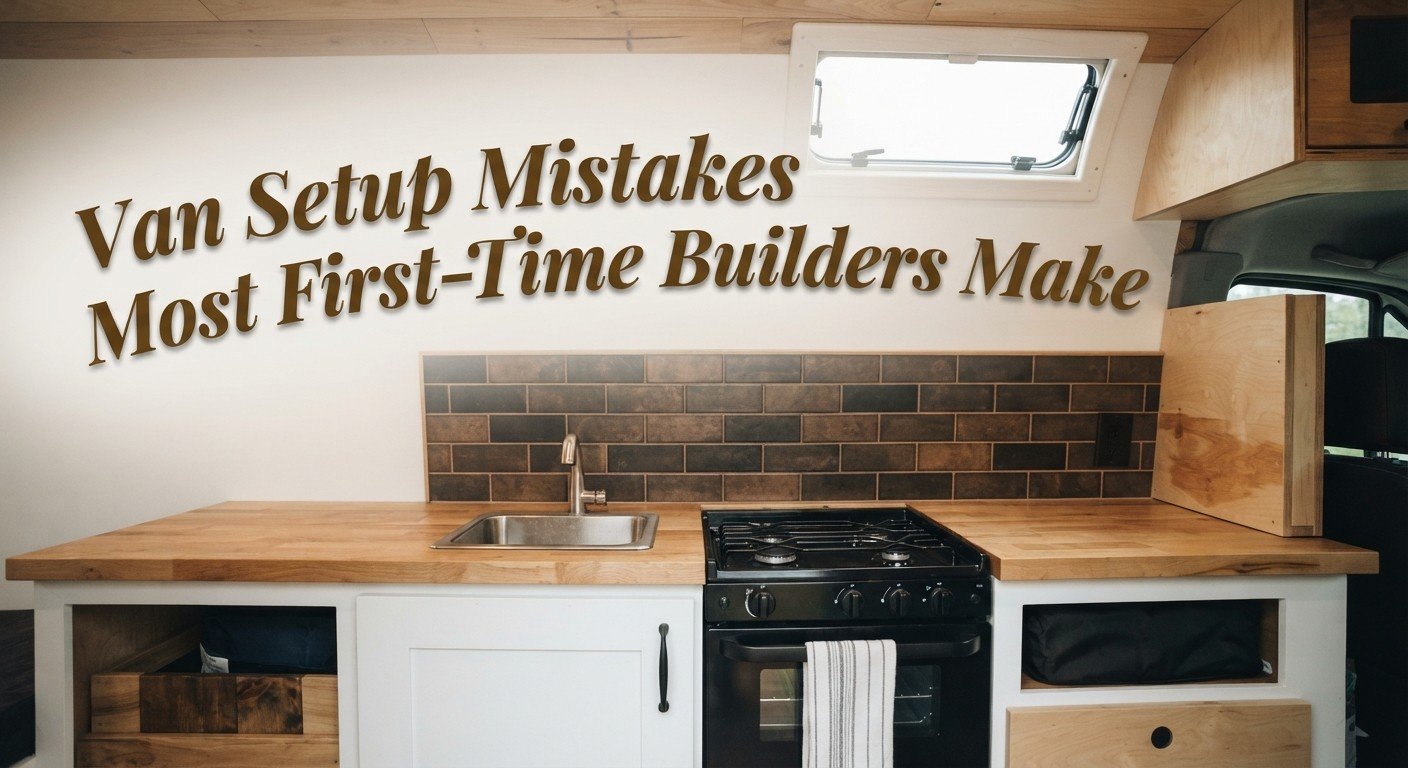
I gutted my first van in a gravel lot behind a hardware store because I didn’t want my neighbors watching me mess it up. That’s not a joke, that’s just what happened. I had a Sawzall, a stack of YouTube tabs open on my phone, and absolutely no plan for where the electrical was going to live. Three weeks later I was re-doing half of it.
Most first builds have a version of that story somewhere in them. The good news is the mistakes repeat themselves often enough that they’re predictable, which means they’re avoidable too.
1. Skipping the Layout Phase Entirely
The single biggest mistake I see, and the one I made myself, is jumping straight into cutting wood or laying insulation before the layout is actually decided. It feels productive. It isn’t.
A van is a small, oddly shaped box with wheel wells, a curved ceiling, and maybe 60 to 90 square feet of usable floor depending on the model. Every inch you commit to a bed frame is an inch you don’t have for storage, a kitchen, or walking space. Once the subfloor and walls go in, changing your mind gets expensive fast.
Before any tools come out, mock the layout with painter’s tape on the actual van floor. Walk through your daily routine in that taped-out space. Where do you cook. Where do your shoes go. Where does the dog sleep, if you have one. If something feels cramped on tape, it will feel worse with plywood and a mattress in the way.
We’ve written before about how the early planning stage connects directly to your overall spending, and it’s worth reading if you haven’t already: setting a realistic van life budget for 2026 walks through where builders typically underestimate costs before they’ve even started cutting materials.
2. Underestimating the Electrical System
Here’s where people usually go wrong, and it’s almost always the same way: they size their battery bank and solar setup based on what they think they’ll use, not what they actually use once they’re living in the van full time.
Laptops, phones, a fridge running around the clock, maybe a fan or a small heater on cold nights. It adds up faster than the spreadsheet suggests. A 100Ah lithium battery sounds like plenty until you’re three cloudy days into a Pacific Northwest winter and your fridge alarm is going off.
The fix isn’t complicated, it just requires being honest about your actual power draw before you buy anything.
| Component | Common First-Build Mistake | Better Approach |
|---|---|---|
| Battery bank | Sizing for “average” use | Size for your worst realistic day, then add 20% |
| Solar panels | One panel, flat-mounted | Two panels, or one tiltable, for low-sun months |
| Wiring | Undersized gauge to save money | Match gauge to amperage, always |
| Fuses | Skipped or added later | Installed at the build stage, every circuit |
| Charge controller | Cheapest available | MPPT over PWM, worth the extra cost |
Electrical is also the one system where a mistake isn’t just inconvenient, it can be a fire risk. If you’re not confident with wiring, this is the one place in the build where paying an installer for a day is money well spent.
3. Building for Instagram Instead of for Living
I get why this happens. The photos of white oak cabinetry and hanging plants are genuinely beautiful, and they’re everywhere. But there’s a real gap between what photographs well and what holds up to actual daily use, and it’s a gap a lot of new builders fall into without realizing it.
Open shelving looks great in a parked, styled photo. It’s a disaster on a gravel road when everything on it becomes a projectile. Light-colored fabric looks clean until you’ve been living with muddy boots and a dog for two months. We touched on this disconnect in an earlier piece, why van life isn’t as cheap as Instagram shows, and the aesthetic gap is really just one version of a bigger pattern, where the version of van life people plan around isn’t the one they end up living.
Build for movement first. Add latches to anything that opens. Choose materials because they’re durable, not because they photograph in nice light. If it still looks good after that, great. But function comes first, every time.
4. Ignoring Weight Distribution
This one surprises people. Vans have a gross vehicle weight rating, and going over it isn’t just a legal problem, it changes how the van handles, especially in wind or on mountain grades. And it’s not only about total weight. Where that weight sits matters just as much.
Heavy items like your water tank, battery bank, and any tools should sit low and centered, ideally near the rear axle or evenly split between front and rear. I’ve seen builds where all the weight ended up in the back for storage convenience, and the front end got noticeably light on the highway. That’s not a minor quirk, that’s a handling issue you’ll feel every single drive.
Weigh your van empty, weigh it again once loaded, and know your numbers before you’re three states from home wondering why it feels different in crosswind.
5. Underestimating Insulation and Ventilation Together
People treat insulation and ventilation as separate decisions. They’re not. Insulate a van well without adequate airflow and you’ll deal with condensation, and condensation left unchecked turns into mold, and mold in a van is a genuinely miserable problem to fix after the fact.
A roof vent fan isn’t optional, it’s foundational. Same with a cracked window or two, even in cold weather, just enough to keep air moving. Moisture from cooking, breathing, and even just being alive in a small enclosed space has to go somewhere, and if you haven’t given it a path out, it’s going to find your walls instead.
Budget Van Journeys readers ask about this one a lot, probably because it’s not obvious until you’re already dealing with it. If you’re still working out what a full month of costs looks like once ventilation, insulation, and everything else is factored in, our guide to the first month on the road is a decent starting point for what actually shows up on the bill.
A Quick Word on Budget Creep
And this is the part nobody wants to hear. Every single mistake above tends to cost more to fix than it would have cost to do right the first time. Redone electrical, replaced open shelving, extra insulation added after the mold shows up. It compounds.
If you’re building on a tight budget, and most first-timers are, it’s worth reading through 5 ways to cut van life costs without feeling deprived before you start buying materials, not after. The cuts that actually save money long term are rarely the ones people reach for first.
I’ll admit my own first build ran almost 40% over what I’d planned, mostly because of exactly the mistakes above. Second van came in close to budget. Same person, same tools, just fewer lessons left to learn the hard way.
The van doesn’t need to be perfect before you leave. It needs the electrical sized honestly, the weight distributed sensibly, and enough airflow that mold isn’t waiting for you in month three. Everything else is preference, and preference you can adjust on the road.
Frequently Asked Questions
How long does a first van build usually take? For someone working solo on evenings and weekends, six to twelve weeks is typical. Full-time work can compress that to two or three weeks, though rushing the electrical stage specifically tends to be where corners get cut.
Do I really need solar, or can I just charge from the alternator while driving? Alternator charging works, but it depends on daily driving to keep your battery topped off. If you plan to stay parked for more than a day or two at a time, which most people end up doing, solar fills that gap without needing the engine running.
What’s the most commonly skipped safety item in first builds? A carbon monoxide detector, hands down. Anyone running a propane stove, heater, or fridge inside the van needs one, and it’s a small enough item that it gets forgotten in the excitement of bigger build decisions.
Is it cheaper to buy used cabinetry or build from scratch? Building from scratch with plywood is usually cheaper up front and fits your specific layout better. Used RV cabinetry can work if you find a good deal, but it rarely fits van dimensions without modification, which eats into the savings.
How much should I budget for mistakes and redoes? As an honest rule, add 15 to 20% on top of your material budget for materials you’ll end up replacing or redoing. Nearly every first-time builder underestimates this, and it’s a more realistic number than assuming everything goes right the first time.
For more on getting the numbers right before you start, our piece on how much it really costs to live in a van is a good next read.