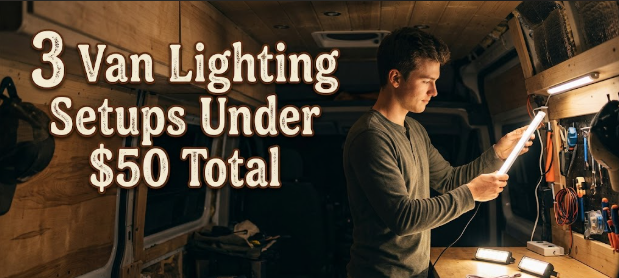
Something I noticed fairly early on when I started spending time in van conversion communities: the most commented-on lighting posts are almost always the expensive ones. Recessed LED puck lights. Colour-changing strips controlled via an app. Custom light shelves with integrated dimmers. And people go wild for them in the comments, completely reasonably, they look genuinely beautiful.
But talk to someone who has been living in a van for a year and ask what they actually use for lighting. The answer is almost never those things. Nine times out of ten, it’s something cheap, something simple, and something they fitted in an afternoon before their first trip.
The practical reality of van lighting is far simpler than what the internet suggests. You need ambient light for general use, a brighter option for reading or cooking, and something dim for late nights. All three of those functions can be covered for under $50, total, without a single bit of hardwired electrical work if you don’t want it.
1. What Van Lighting Actually Needs to Do
There’s a version of van lighting that exists mainly in YouTube build tours. Recessed ceiling panels, under-shelf glow, a headboard with integrated LEDs that shift from white to amber as the evening progresses. It looks stunning. And it quietly sets a benchmark that most people building their first van measure themselves against, which is part of why first-time builds cost so much more than they should.
Lighting in a van has a few genuine jobs. Enough general light to see clearly after dark without blinding yourself. A brighter, focused option for anything task-based — reading, cooking at night, finding something in a drawer. And some kind of dim or warm mode for the hour or so before sleep, or for late nights when you don’t want light pushing through your window covers.
Those three needs don’t require a complex system. They don’t need a dedicated circuit. And they definitely don’t need a $200 kit from a van conversion brand.
The three setups below cover all of it, each one a step up from the last in function and cost, and none of them break the $50 mark. If you’re still sorting out the broader electrical side of your build, the DIY van solar setup guide here on Budget Van Journeys is worth reading first, though I’ll say up front that lighting doesn’t have to run through your main 12V circuit at all, which takes a lot of pressure off the system.
2. Setup 1: The Strip Light Minimalist ($12–$18 total)
This is where most people should probably start, and where most people don’t, because it looks too simple.
One component, maybe two if you need an adapter. A 5-meter reel of warm white LED strip at 3000K colour temperature runs about $8 to $12 on Amazon. The 3000K part matters more than people realise: it’s the colour of a standard household lamp, not the blue-white 6000K daylight strips that make a small space feel like a petrol station bathroom at 9pm. If you buy LED strip without checking the colour temperature, there’s a reasonable chance you’ll end up replacing it within a few weeks.
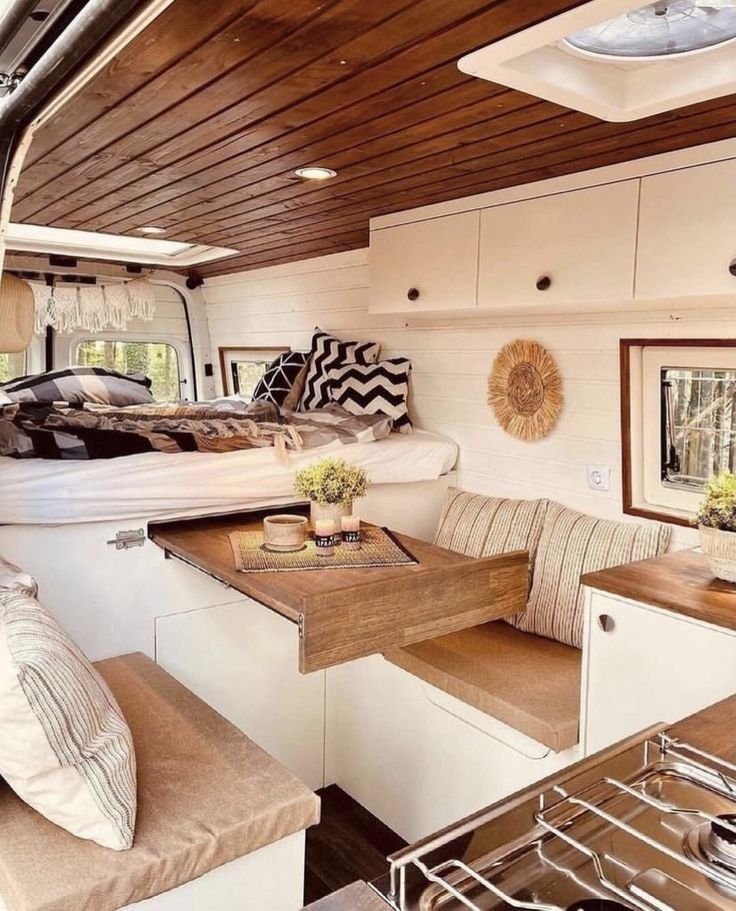
The strip comes with adhesive backing already applied. You cut it to length along the marked lines, which appear every three LEDs on most reels, run it along the ceiling perimeter or above the windows, press it in place, and connect it to a USB port via an adapter. In a standard Transit or Sprinter-sized van, you’ll use about 3 to 3.5 meters for a single perimeter run. That leaves you enough strip for a secondary run under a shelf or cabinet, which is a nice bonus you didn’t have to budget for.
Total cost: $8–12 for the strip, $3–6 for a USB-A adapter if your strip doesn’t include one.
The honest limitation here: no task lighting. You’ll still need something brighter for reading or detailed work. A head torch covers it for almost nothing, but if you want something that stays fixed in one place, that’s Setup 2.
People who land on this and stay with it tend to be doing shorter trips, mostly weekends, or building a temporary setup while they work out what they actually want long-term.
3. Setup 2: The Task Light Combination ($25–$35 total)
This is the setup I’d steer most people toward if they’re planning more than a handful of nights in the van at a time. It adds one piece to the strip light base, and that piece makes a bigger difference than the price suggests.
A USB-powered clip-on desk lamp. The gooseneck kind with a touch-sensitive dimmer. These run $10 to $15 and mount on a shelf edge, headboard rail, or any flat surface with the clip, no drilling required. You angle the beam at a book, a cutting board, a map, whatever you need. And because it’s USB, it runs from the same outlet as the LED strip or a small power bank. No extra wiring.
The full component list for Setup 2:
- Warm white LED strip, 5m reel, 3000K ($8–12)
- USB clip-on task lamp with dimmer ($10–15)
- In-line rocker switch or USB controller for the strip ($5–8)
Total: $23–35.
The switch is worth having. Being able to kill the strip light entirely without pulling a plug from a socket in the dark is one of those small things you don’t think about until you need it at 11pm in a car park. It also matters for stealth parking. Any light leaking through window covers makes it obvious someone is sleeping in the vehicle, and a strip on a dedicated switch is far easier to manage than one that’s either fully on or fully unplugged. The stealth parking guide here covers overnight parking in much more detail, but lighting control is a real part of it.
4. Setup 3: The Warm Ambient System ($38–$50 total)
This one adds the thing that consistently comes up when you ask long-term van lifers what actually changed how their van feels to spend time in. Not more light. Different light. Specifically, a warmer source at a lower point in the space, not mounted overhead.
Overhead strip lighting, even warm white, reads as “room I’m passing through.” A light source closer to eye level when you’re lying down reads as “place I want to be.” That difference matters more than it sounds when you’re spending days on end in a small space.
Battery-powered magnetic puck lights are the answer. A three-pack runs $10 to $15, they mount on small adhesive bases and detach magnetically for repositioning, and most have a touch-sensitive surface with built-in dimming. One at each end of the sleeping area, one in the kitchen zone. Soft, low-level light across the whole van without a single cable. They run on AA batteries, rechargeable ones if you want to be efficient about it.
Here’s the full component list for Setup 3:
| Component | What It Does | Approx. Cost |
|---|---|---|
| 5m warm white LED strip, 3000K | General ceiling ambient light | $8–12 |
| USB clip-on task lamp | Reading, cooking, close work | $10–15 |
| 3-pack magnetic puck lights | Low, warm ambient at eye level | $10–15 |
| In-line switch or USB controller | Control the strip independently | $5–8 |
Total: $33–50
That’s the complete setup. All four components. No wiring beyond USB connections and AA batteries. If the adhesive backing on the strip loses grip somewhere, it’s re-attachable. If you decide you want the task lamp on the other side of the bed, it unclips and moves. Nothing is permanent, which matters more than it seems when you’re still figuring out how you actually use the space.
5. What People Usually Get Wrong With Van Lighting
Two things come up more than anything else, and both are avoidable.
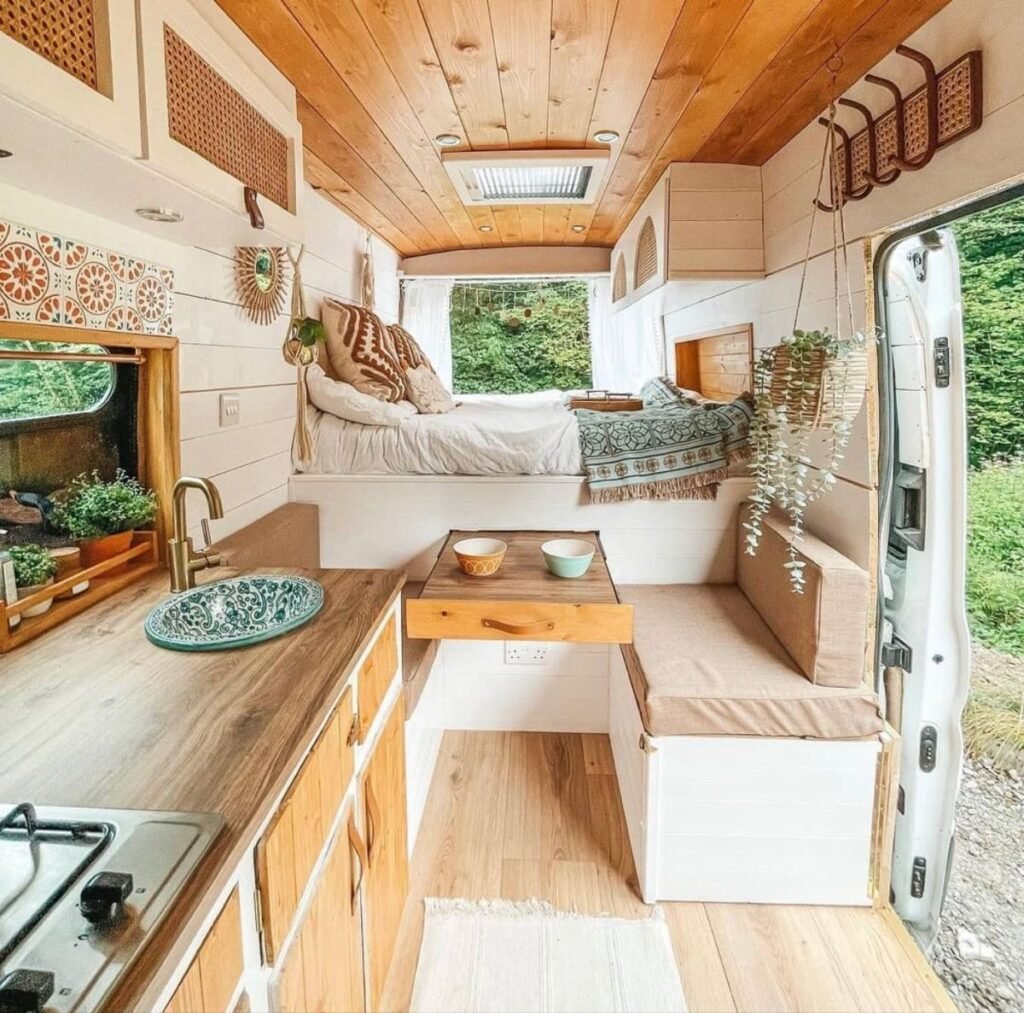
The first is colour temperature. Cool white LED strip, the 6000K daylight type, is cheap and widely sold, and it looks fine in photos. After dark, in a small enclosed space, it makes the interior feel like a motorway services at 2am. Skin looks flat, the space feels cold, and the blue-white spectrum actively makes it harder to wind down for sleep. Every van lifer I’ve spoken to who regrets a lighting purchase bought cool white. Check the colour temperature before you buy. 3000K or 3500K is the range you want.
The second mistake is making the power supply more complicated than it needs to be. There are van builds where the lighting is wired through a bus bar, run from a dedicated fused circuit, and switched via a relay panel. That’s a fine system if you have the skills to do it correctly. But for $50 worth of strip lighting and USB lamps, it’s unnecessary. And it makes changes harder. If you wire something in permanently and then decide you want the light somewhere else, that’s a much larger project than if you’d started with USB and clips.
Start flexible. Upgrade toward permanent once you know exactly where you want things, because experience in the van is the only thing that actually tells you.
The complete beginner build guide on Budget Van Journeys approaches the whole build from the same angle: do less first, expand from real experience rather than from what you imagine you’ll need. It’s worth reading before you commit to anything permanent.
At a Glance: All Three Setups Compared
| Setup | Cost Range | Components | Best For |
|---|---|---|---|
| Strip Light Minimalist | $12–18 | LED strip + USB adapter | Weekend trips, temporary or short-term setup |
| Task Light Combination | $25–35 | Strip + clip lamp + switch | Regular use when you need reading or cooking light |
| Warm Ambient System | $38–50 | Strip + clip lamp + puck lights + switch | Extended stays, full-time van living |
FAQs
Do I need to wire van lighting into my main 12V electrical system?
Not for any of these setups. LED strips and clip lamps run from USB, which you can source from a van USB outlet, a portable power bank, or a 12V-to-USB adapter. Puck lights run on AA batteries. Nothing needs connecting to your main circuit, which means nothing is at risk if something goes wrong with your electrical system, and nothing is permanent if you want to move things around.
What colour temperature should I use for van interior lighting?
3000K to 3500K warm white. It’s the colour temperature of a standard living room lamp, and it feels comfortable in a small enclosed space after dark. Anything above 4000K edges toward daylight white, which works in some task lighting situations but feels uncomfortable as general ambient light. Check the packaging or listing before you buy, because strips labelled “LED white” often default to 6000K.
Can I run LED strip lights from a portable power bank?
Yes, easily. A 5-meter 12V strip at full brightness draws around 14 to 20W. Running a shorter section at USB voltage brings that down considerably. A 10,000mAh power bank will comfortably run a basic strip through several evenings before needing a recharge. It’s not a permanent solution, but it works well while you’re testing placement or doing a short trip before a fuller build.
How do I stop interior light showing through the van windows at night?
Window covers are the first line of defence. Reflectix-backed curtains, magnetic blackout panels, or properly fitted foam cutouts all block light effectively. Beyond that, the lighting level matters. A puck light on its lowest setting emits a fraction of the outward light that a ceiling strip at full brightness does. Having a switch that lets you kill the strip independently is the practical solution for late-night stealth.
Is it worth upgrading to hardwired lighting later?
For some people, absolutely. Recessed 12V puck lights on a switched circuit look significantly better and last longer than stick-on puck lights on batteries. But the right time to upgrade is after you’ve spent a few months in the van and know exactly where you use light and where you don’t. A clip lamp positioned where you genuinely read at night is worth more than a hardwired recessed fitting where you thought you’d read when you were still planning the build at home.
If you’re still working through the broader conversion before getting to lighting, the van build under $5,000 guide is a practical breakdown of where the money actually goes, and where it genuinely doesn’t have to.