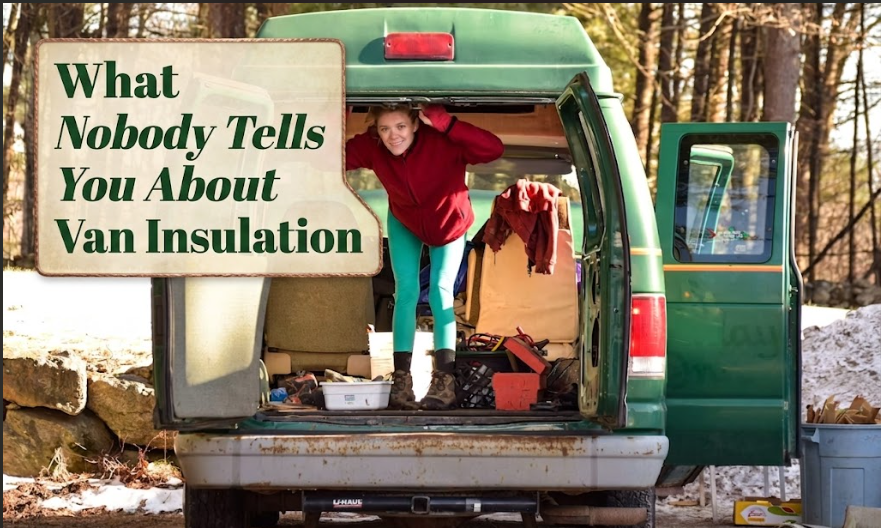
The number of messages I’ve received that go something like “I’m a few months into van life and I think my insulation is completely wrong” is, at this point, not small. And it’s almost always the same few issues. The same shortcuts taken for the same reasons. The same misunderstandings about what insulation is actually trying to achieve.
It makes sense that people get this wrong. Van insulation looks simple in build tutorials. You pick a material, you cut it to fit, you shove it into the walls, and you panel over it. The videos make the whole thing look like a relaxed Saturday afternoon. But insulation is probably the single part of the build with the biggest impact on long-term comfort, and it’s also the part that is most expensive to fix once your cladding is up and your kitchen unit is bolted in.
So. What nobody tells you. Let’s talk about it, particularly for anyone building on a tight budget, because that’s where the tricky trade-offs tend to live.
1. You’re Not Just Solving a Heat Problem
Ask a room full of new vanlifers what insulation is for and almost everyone will say something about staying warm in winter. Fair enough. But that’s half the answer, and the missing half is where most builds go wrong.
Metal van walls have almost no thermal mass. When the temperature drops overnight, the metal panels cool down fast. Warm, humid air from inside the van, from breathing, cooking, even just existing in a small space, then hits those cold surfaces and you get condensation. Not immediately visible condensation, often, but moisture migrating into wall cavities, settling behind cladding, soaking into wooden sub-structures. And then, several months later, you find mould. Or rust. Or both.
Moisture management is just as important as thermal resistance, and the two are directly connected. The materials you choose, how you apply them, whether you leave gaps, whether you address the metal structural ribs on the van walls, all of it affects the moisture picture as much as it does the warmth one.
One area that catches people out in particular: the vapour barrier question. Van communities are genuinely split on this and I don’t want to dismiss either side, but my view is that it depends almost entirely on your material choice. Closed-cell spray foam is essentially impermeable to moisture and acts as its own vapour barrier. Open-cell materials like rockwool, or worse, fiberglass batts, allow moisture to pass through and really do benefit from a vapour barrier on the warm side. If you’re using rockwool and skipping the vapour barrier, you’re taking a risk that tends to show up around 18 months in, when it’s expensive and annoying to fix.

2. What Each Material Actually Does (The Straight Version)
There are a lot of insulation options promoted in the van build world, and not all the comparisons out there are particularly balanced. Here’s a straightforward breakdown.
| Material | R-value per inch | Moisture resistance | Budget-friendliness | Main downside |
|---|---|---|---|---|
| Polyiso foam board | ~6.5 | Moderate (foil facing helps) | Good | Loses R-value in extreme cold |
| XPS (extruded polystyrene) | ~5 | Good | Good | Can compress over time on floors |
| Closed-cell spray foam | ~6.5–7 | Excellent | Expensive | Very hard to adjust once applied |
| Rockwool (mineral wool) | ~3–4 | Good (doesn’t absorb water) | Medium | Lower R-value, needs proper fixing |
| Fiberglass batts | ~3.5 | Poor | Cheap | Absorbs and holds moisture badly |
| Reflectix (radiant barrier) | ~1 alone | Fine | Cheap | Near-useless without an air gap |
That bottom row deserves more emphasis.
Reflectix is promoted in van build communities as if it’s a primary insulation material, and it really is not. As a radiant barrier it performs well when installed with at least a 3/4 inch air gap on both sides. Pressed flat against a wall panel, or layered directly onto foam board, it adds almost nothing to your thermal resistance. You’re essentially paying for shiny foil.
If you’re working with a tight budget, the most effective combination for the money is polyiso foam board for the flat wall sections combined with rockwool to fill cavities and awkward gaps. Not exciting, but it works and it holds up. A lot of budget van builds covered over at Budget Van Journeys have gone this route. If I were building from scratch with limited funds, that’s what I’d reach for.
3. The Three Things Most Tutorials Don’t Cover
Even good van insulation guides tend to skip three things that actually matter. I say this not to be harsh about those guides but because I see the consequences of skipped steps regularly.
Thermal bridging through the metal ribs
Most panel vans have structural ribs running along the interior walls and ceiling. These ribs are metal, and metal conducts temperature very well. Even if you’ve done a careful job insulating the flat sections between the ribs, those metal strips are connecting the cold outside shell directly to your interior air. Condensation tends to form along them first, which is why some builders find damp lines appearing behind their cladding.
The fix is simple: cut thin strips of foam board and stick them over the ribs before you install your main insulation layer. It adds maybe two hours to your build. It makes a real difference in cold climates.
Floor insulation
I’m always surprised by how often this gets underdone. People spend a lot of time choosing between spray foam and polyiso for the walls, then put a sheet of 9mm ply directly onto the bare metal floor with nothing underneath. The floor matters. You stand on it constantly, you feel cold rising through it in winter, and heat loss through a bare floor is significant, particularly when parked overnight on cold ground.
A layer of XPS foam board between the van floor and your sub-floor is cheap and takes an afternoon to fit. Even 25mm makes a noticeable difference to underfoot warmth. The essential van setup guide for beginners covers the order of operations for this well, if you’re trying to figure out when insulation fits into the overall build sequence.
Wheel arches
Wheel arches are awkward to insulate because of their shape, so most people just skip them. But they’re in direct contact with the outside air and road, they’re often located right where beds and seating end up, and they’re a common cold and noisy spot. Spray foam is good here because it fills the irregular shape. Cut-to-fit foam board works too, as does rockwool stuffed into the void on a tight budget. The main thing is not to leave them completely bare.
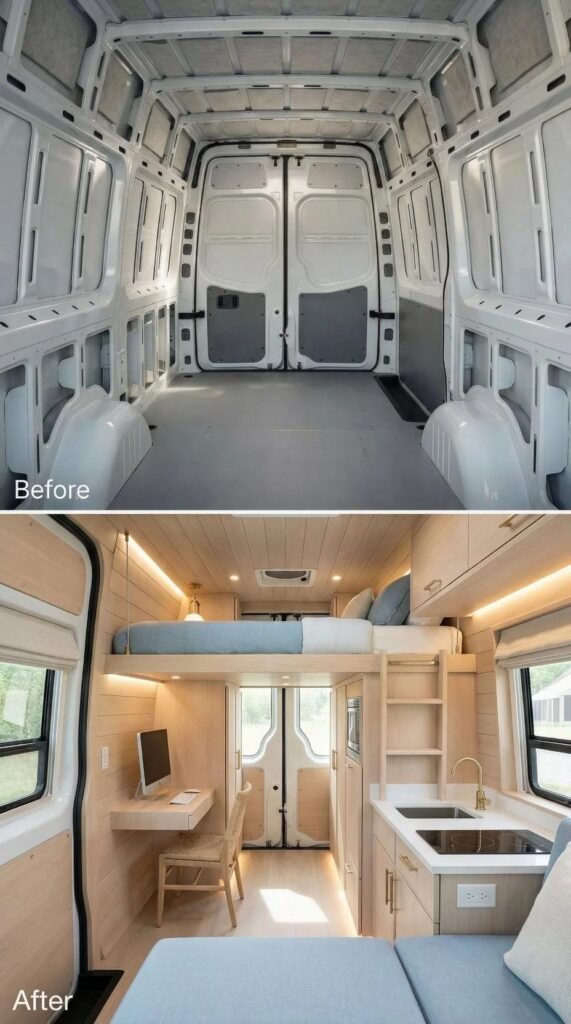
4. Getting It Right When You’re Working to a Budget
Budget builds and insulation are a slightly uncomfortable combination, because the places where people try to save money are exactly the places where problems appear later. That said, there are smart places to economise and genuinely wrong places to cut corners.
Where you can spend less:
Polyiso foam board from a local builders’ merchant is usually the same product as the branded “van-specific” foam board kits sold online at considerably higher prices, just in different dimensions. You can cut it yourself with a sharp knife and a metal straight edge. Buy in bulk, cut it down yourself, and you’ll spend a fraction of what the kit market charges.
Rockwool is cheap, widely available, and well-suited to vans because it doesn’t absorb water the way fiberglass does. Wear gloves when handling it because the fibres are itchy, make sure it’s properly secured so it doesn’t slump over time, and it’ll serve you well for years.
Where not to economise:
The ceiling and the floor. If your budget is tight and you can only insulate one area well, do the ceiling first. It’s the hardest area to access once the van is boarded up, it loses a significant amount of heat, and getting it wrong there is an expensive correction. Closed-cell spray foam on the ceiling is worth the extra outlay in a full-time build, even on a budget. Everything else can be approached more frugally. That one area, once sealed behind panels, you’re not revisiting.
A point that often gets treated as separate from insulation but really isn’t: ventilation. A well-insulated van with no ventilation still develops moisture problems, because you’re breathing in there, cooking in there, sometimes bringing wet gear in. A powered roof vent is infrastructure, not a luxury. Budget options exist (Fiamma units are considerably cheaper than Maxxair vents and work fine in most conditions), but some form of roof ventilation needs to be in the plan. The van living comfort guide at Budget Van Journeys covers this side of things well, including summer heat management, which is its own problem.
One thing that catches people out during the planning stage: insulation thickness directly reduces usable interior space. Every inch of foam on your walls is an inch off your interior width. For longer wheelbase vans this is manageable. For smaller panel vans, it can be the difference between a bed fitting and not fitting. Plan for the thickness before you buy materials, not after. The DIY upgrades guide for budget van builds is useful for thinking through these space trade-offs during the design phase.
And a final practical note: the most common mistake I see in builds isn’t necessarily the wrong material choice. It’s gaps. Foam board cut slightly too small, leaving a 5mm air gap around the edge of each panel. Those gaps become cold bridges and condensation points. Cut your foam to fit snugly and use expanding foam tape or spray foam to fill any gaps around edges and penetrations. It sounds minor and it isn’t.
FAQs
Is spray foam worth the cost in a budget van build?
Closed-cell spray foam is worth the cost for specific areas: ceilings, wheel arches, and any curved or irregular sections where foam board won’t sit flat. For large flat wall sections, it’s expensive relative to what you get and foam board performs comparably at a fraction of the price. A hybrid approach tends to work well on a budget: foam board for most surfaces, spray foam where the shape requires it.
Do I need to worry about vapour barriers?
It depends on your material choice. If you’re using closed-cell spray foam throughout, no additional vapour barrier is needed. If you’re using rockwool or mineral wool, a vapour barrier on the warm side of the insulation helps prevent moisture migrating into the wall cavity. Skip it with those materials and you’re taking a risk on mould inside the walls within a year or two.
How much R-value is actually enough?
A rough working guide for year-round use in a temperate climate: R-12 to R-16 in the walls and R-20 or more in the ceiling. For warmer climates, less is fine. For somewhere like Scandinavia or northern Canada in winter, more is better. There’s no universal answer because climate matters enormously, but those ranges give a sensible starting point for UK or northern European conditions.
Can I use standard house insulation materials in a van?
Rockwool, yes. It doesn’t absorb moisture in the same way fiberglass does and works well in a van environment. Fiberglass batts, no. They absorb moisture, hold it, and don’t release it easily in the humid environment of a van, which is exactly the mould and damp situation you’re trying to avoid. If budget is the reason you’re considering fiberglass, rockwool is usually a similar price and a far better choice for this application.
Does good insulation help with summer heat too?
Yes, insulation resists heat transfer in both directions, so a well-insulated van heats up more slowly in direct summer sun than a poorly insulated one. But it doesn’t solve the problem entirely: sun loading through windows and skylights heats the interior regardless of what’s in the walls. Reflective window coverings and roof ventilation do more for summer comfort at that point than additional foam layers. Insulation is part of the picture, not the whole thing.
Good van insulation is not really about spending a lot. It’s about understanding what the materials are doing and not skipping the steps that matter once you do. Sort the moisture side first, cover the ribs and the floor and the wheel arches, and be realistic about what Reflectix alone can achieve. The rest follows from that.