
The first van solar setup I ever built cost me just over $800. It powered a phone charger and a small fan. That was it. Barely enough to justify the hours I spent on it, but I figured I’d learned the fundamentals and could only improve from there.
The second build cost $274. It ran a 12V compressor fridge, charged everything I needed, and kept a small LED circuit going through three-day stretches with no driving time at all. That gap between $800 and $274 wasn’t about luck. It was about knowing which decisions actually matter and which are just expensive noise.
So yes, you can build a genuinely functional van solar system for under $300. And you probably don’t need half of what the YouTube rabbit holes will tell you.
1. What a $300 Solar Build Actually Looks Like
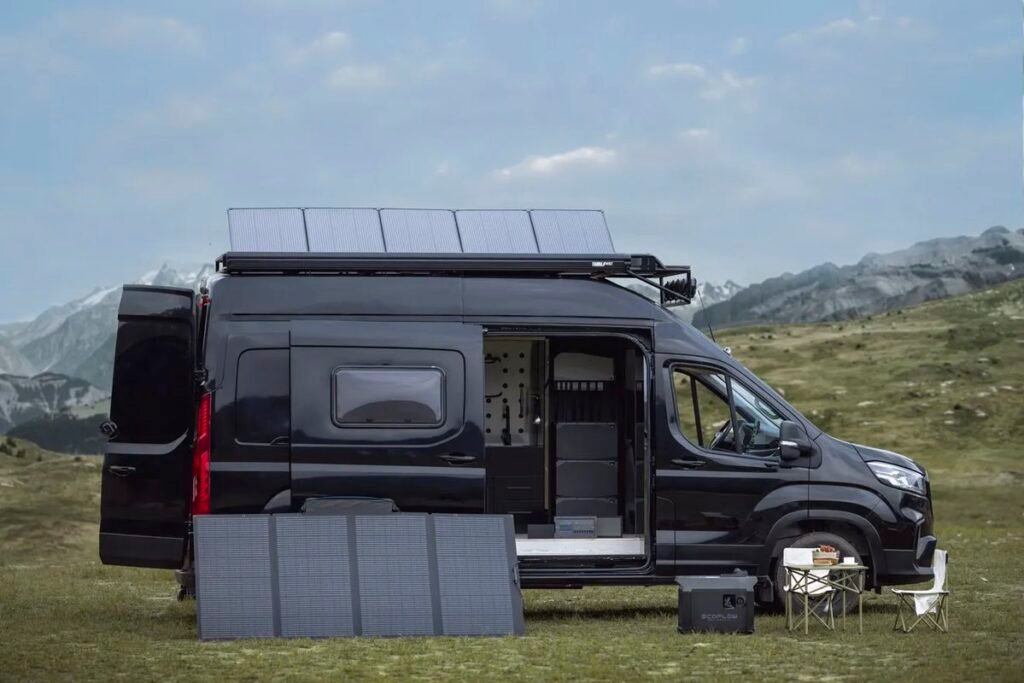
A van solar setup has four parts. Panel, charge controller, battery, wiring. That’s genuinely it. Everything else, the Bluetooth battery monitors, the branded mounting kits, the smart shunts, those are nice to have eventually. Not on build one.
Here’s an honest cost breakdown for a complete entry-level system:
| Component | What to Look For | Approximate Cost |
|---|---|---|
| 100W Monocrystalline Panel | Renogy, ECO-WORTHY, Newpowa | $75–$100 |
| 30A PWM Charge Controller | Renogy Wanderer or similar | $20–$30 |
| 100Ah AGM Deep Cycle Battery | VMAXTANKS, Universal Power Group | $100–$130 |
| 10 AWG Solar Cable + MC4 Connectors | Pre-made kit | $15–$25 |
| Fuse, fuse holder, misc hardware | — | $10–$20 |
| Total | $220–$305 |
You can land anywhere in that range depending on where you buy. Renogy’s own site and Amazon both offer fair prices on panels and controllers. Batteries are the one component worth checking on local classifieds first, because a local pickup on a good-condition AGM will save you $20–30 in shipping weight alone.
Budget Van Journeys readers often ask whether brand matters here. Mostly, no. At this price level, the specs matter more than the logo on the casing.
2. The Component That Actually Determines How Your System Performs
Nearly everyone obsesses over the solar panel. It’s the visible bit, the exciting bit, and the wattage number feels like the main measure of a system’s ambition. But the component that determines how your setup actually performs day to day is the battery.
A 100Ah AGM battery gives you roughly 50Ah of usable capacity. Discharging below 50% repeatedly will shorten the battery’s lifespan quite dramatically, sometimes halving it over a few months of misuse, so that 50% threshold is a real working limit, not a cautious suggestion. That 50Ah of real-world capacity is enough to charge phones, run LED lighting, and operate a 12V fan through a warm night without any problem.
The charge controller is the other piece people tend to underestimate.
A PWM controller works perfectly well for a single 100W panel. MPPT controllers are more efficient, and they make clearer sense for larger systems or genuinely low-light climates, but for a first build under $300, PWM is fine. The actual energy difference between a PWM and MPPT controller on a 100W setup amounts to roughly $5–8 worth of recovered power per month. Not the deciding factor it’s sometimes presented as, and anyone insisting otherwise usually has something to sell you.
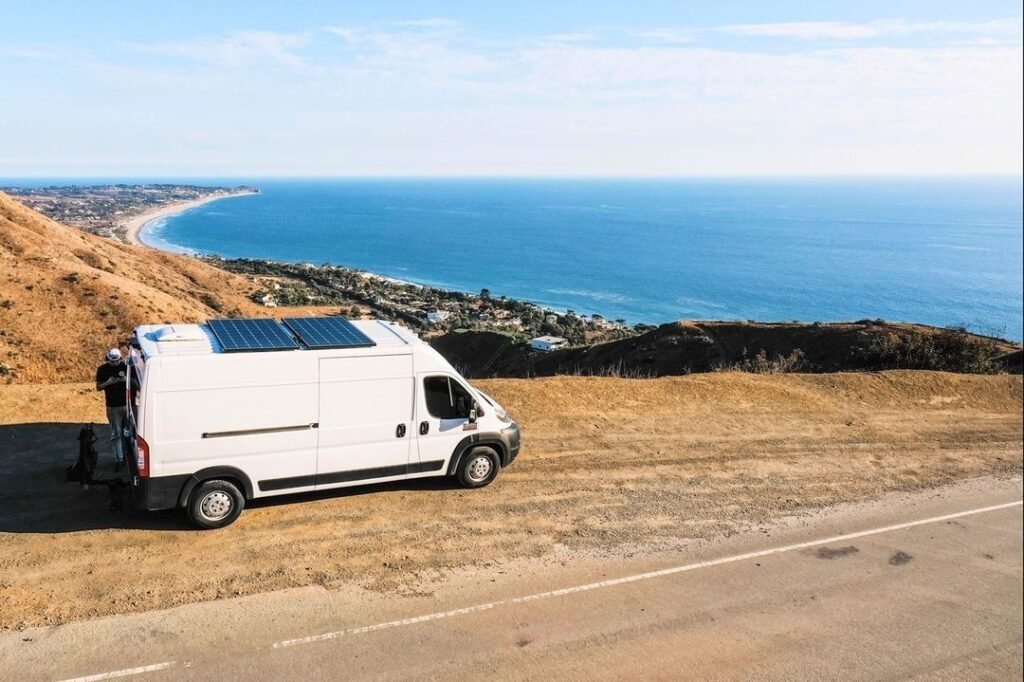
Here’s something that doesn’t get talked about enough: panel placement matters more than panel wattage. A 100W panel in clean, unobstructed sun will consistently outperform a 160W panel with a bike rack or rooftop box throwing partial shadow across it through the afternoon. Before you buy anything, stand on your van roof, look around, and figure out exactly where clean sun hits the longest. That placement decision affects every single day of your van life and you cannot change it without remounting everything from scratch.
3. Wiring It Together Without Getting It Wrong
Wiring a 12V van solar system sounds more intimidating than it is. The voltages involved are low, the currents manageable, and the system is far more forgiving than your home’s mains wiring. The main thing is the correct connection sequence, which is easy to get backwards when you’re following three different forums at once.
Step 1: Mount your panel on the roof using Z-brackets or an adjustable rack mount. Leave it fully disconnected for now.
Step 2: Route the solar cable through a waterproof cable entry gland into the van interior. This step matters more than most people allow for. A poorly sealed roof penetration is the single most common cause of long-term water damage in DIY van builds, and it’s invisible until it isn’t.
Step 3: Run the cable to your charge controller’s intended location. Then connect the battery to the charge controller first, before touching the panel cable. This sequence is important. Connecting the panel first without a battery present can damage or destroy some controller models.
Step 4: Connect the panel cable to the controller’s solar input terminals.
Step 5: From the controller’s load output, or directly from the battery with an appropriate inline fuse, wire up your 12V accessories.
On cable sizing: 10 AWG handles most 100W setups at standard run lengths without issue. If your cable run from roof to battery is over about five metres, go to 8 AWG to reduce resistance losses. It’s not dramatic on a small system, but voltage drop does add up across a lot of charging days.
Fusing is not optional. Put a 30A fuse between the battery positive terminal and the charge controller, and individual smaller fuses on each load circuit. A short circuit in a 12V automotive system can easily start a fire before a circuit breaker trips, and the $10 you spend on proper fusing is among the best $10 in the entire build. Not the place for creative cost-cutting.
MC4 connectors are the standard solar connector format. They should be properly crimped with an MC4 tool, or buy pre-made cables with connectors already attached. Poorly crimped MC4 connections cause invisible efficiency losses and occasional arcing. You usually won’t notice the efficiency loss until you’re comparing two consecutive similar days, but you’ll notice the arcing when something stops working unexpectedly at midnight in the middle of nowhere.
4. Where Budget Builds Usually Go Wrong
A few patterns repeat often enough that they’re worth being direct about.
Buying a lithium battery as the first upgrade. Lithium batteries are excellent and the case for them over AGM is genuinely strong once you understand your actual usage patterns. But a 100Ah lithium cell costs $250–350 minimum, which consumes the entire $300 total budget before you’ve bought anything else. Build with AGM first, live in the van for a month or two, and make the lithium decision from a position of real data rather than forum enthusiasm.
Skipping fuses. Comes up constantly. People cut this step because it seems minor and they’re trying to keep costs down. It’s the wrong place to save money, full stop.
Ignoring cloudy days in the calculations. Most beginner solar calculations are based on peak sun hours in reasonable weather, and then the battery drains more than expected on the first properly overcast day and suddenly the system feels broken. Plan for two or three consecutive low-yield days, especially in northern climates or autumn travel. A van that needs shore power every few cloudy days isn’t a failed system, it’s a small system used honestly.
Undersized cable to save a few dollars. Undersized cable means voltage drop, which means less power reaching the battery and your accessories than the panel is actually producing. 10 AWG for a 100W panel and standard run lengths is the sensible minimum, not a starting point to go thinner from.
One thing I’ve noticed writing for Budget Van Journeys over the years is that people who stress most about whether their setup is “enough” before they’ve spent a single night in the van are trying to solve a problem they haven’t measured yet. Install the basic system, track what actually drains the battery over a real week of van life, and let that tell you whether you need to expand. Most people find that 100W and 100Ah handles more than they expected.
FAQs
Can a $300 solar setup run a fridge? Yes, but it’s tight. A 12V compressor fridge like the BougeRV or Alpicool range draws roughly 40–60Wh per hour on average. With 50Ah of usable battery capacity and a 100W panel in four to five solid sun hours, you’re at rough break-even on a warm, sunny day. Cloud cover tips that into deficit. If fridge power is the main goal, a second battery or a second panel is the upgrade that changes the situation.
Do I need MPPT or will PWM do? For a single 100W panel setup, PWM is completely adequate. The efficiency advantage of MPPT is real but small enough at this scale that the additional cost isn’t justified for a first build. When you expand to 200W or more, MPPT starts making clearer financial sense.
Is it legal to install van solar yourself without a certified electrician? In most countries, yes. A self-contained 12V DC system in a personally owned vehicle doesn’t fall under electrical installation regulations, and no professional certification is required for personal use. If your van is hired, leased, or subject to any agreement restricting roof modifications, check the small print first.
AGM or lithium for a first van build? AGM is almost certainly the right call for build one. It’s cheaper, more tolerant of the occasional mistake (like accidentally discharging too low), and straightforward to source and replace. Get six months of real van living and real usage data, then make the lithium decision from an informed position.
Can I expand this setup later if 100W isn’t enough? Yes, and it’s reasonably simple. Adding a second panel means either upgrading the charge controller or running a second controller in parallel. Adding a second battery works best when both batteries are the same type, same brand, and similar age. Mixing an old AGM with a new one, or combining AGM with lithium, tends to cause more problems than it solves and is a common second-build mistake.
The $300 ceiling isn’t a compromise. It’s a functional starting point, one that gets you a real, working system you can actually live with.
Understanding what each component does, and why it costs what it costs, means you won’t spend money on things that don’t move the needle. And when the time comes to expand, you’ll know exactly what to add and why, instead of just adding more because a forum post said so.
Start small. See what the van actually needs. Go from there.